Menu
Your Cart

Agilent Oligo Pro II Electrophoresis System

Do you have an Agilent Oligo Pro II Electrophoresis System that you are looking to liquidate? If so please complete the form below and we will make a fair offer for it. Our company specializes in refurbishing and supplying Electrochemistry/Electrophoresis such as this Agilent Oligo Pro II Electrophoresis System to laboratories that are unable to afford them new. We help scientists around the worlds conduct their research on the limited budget and at the same help you eliminate hazardous electronic waste out of the landfill. Even if you are considering recycling, we provide a much better alternative by giving a second life to the instruments such as this Agilent Oligo Pro II Electrophoresis System. We feel it will do much more good in the university lab or the new associate professor or a startup lab on a tight budget working hard to bring their research to life. If you have any questions do not hesitate to reach out to us. Thank you!
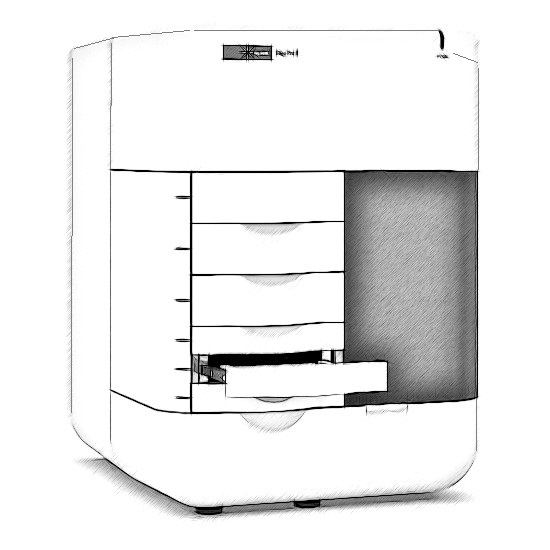
The Agilent Oligo Pro II Electrophoresis System utilizes UV detection along with parallel capillary electrophoresis to provide single nucleotide resolution and direct assessment of oligonucleotide purity, eliminating the need for intercalating dyes and fluorescent probes. The Agilent Oligo Pro II Electrophoresis System can quickly adjust to demands with either a 12-capillary, 24-capillary or 96-capillary array, while the software automates capillary conditioning, sample injection, electrophoresis separation and data processing.

Here we are showing you our standard packing process  

      1. All items are different, but they all follow the same principle when packaging.

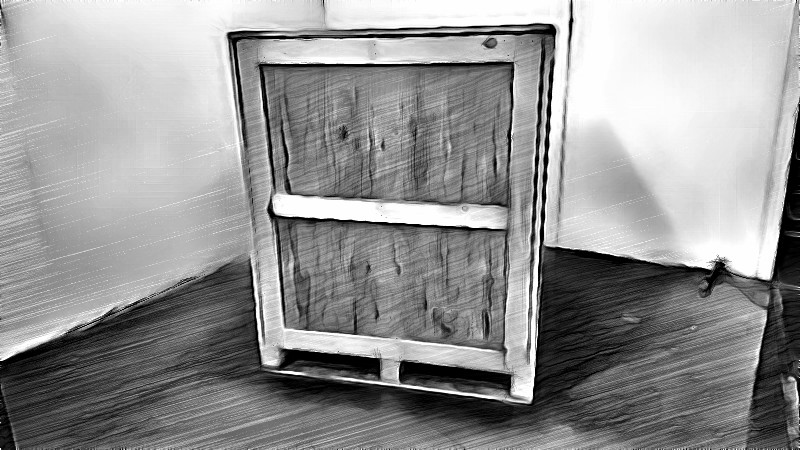
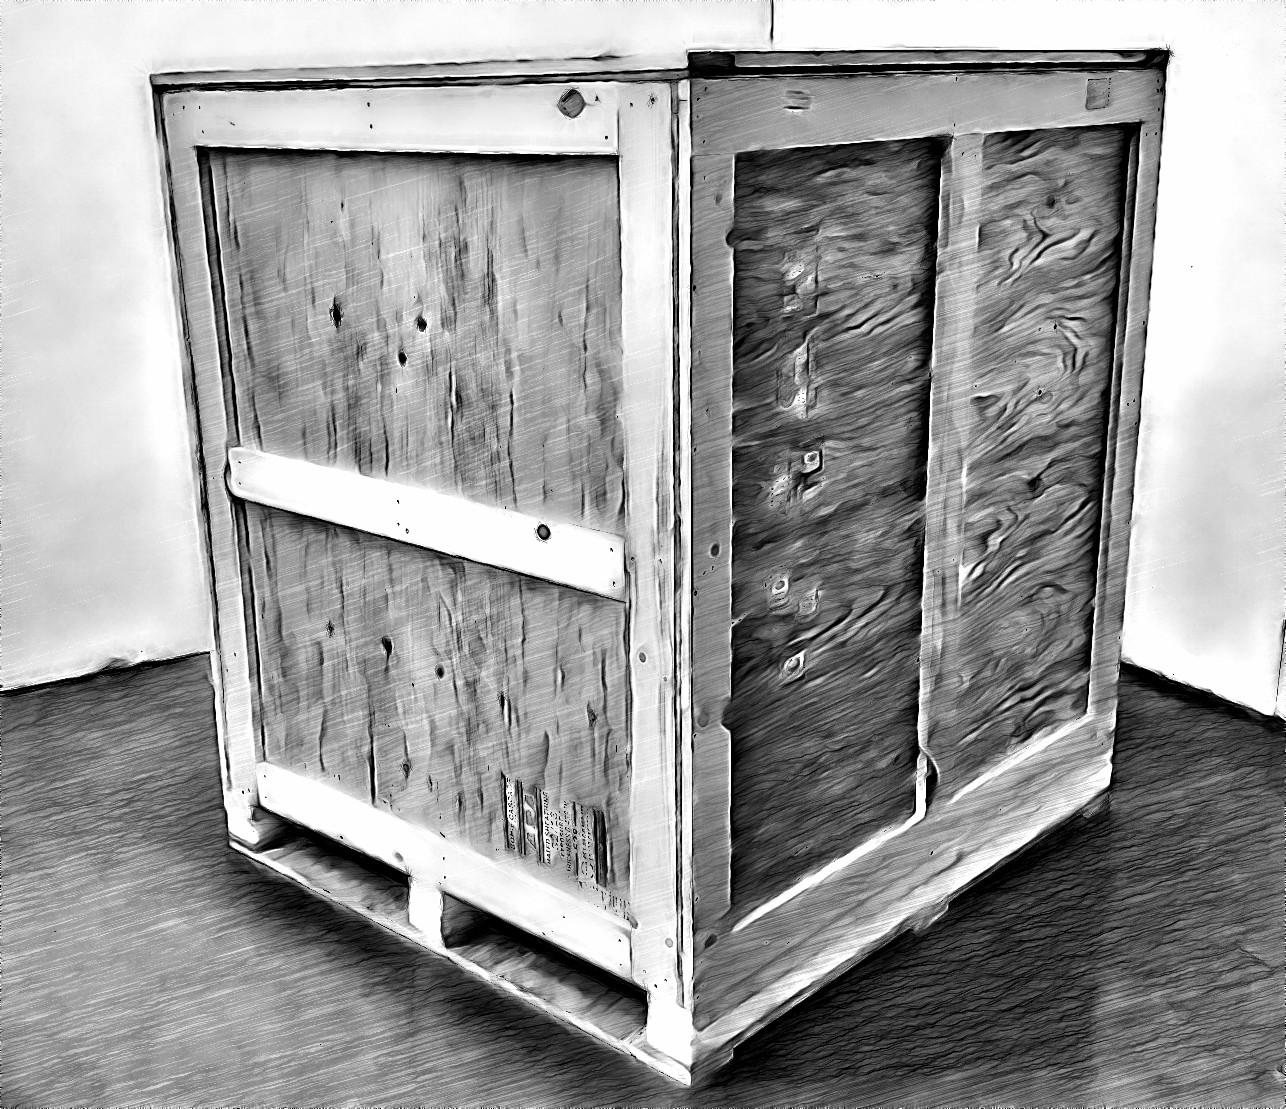
      2. Start with a well-constructed crate

A well-constructed crate would consist of 1/2” to 5/8” Plywood with framing. We generally purchase our crates from a third party who specializes in custom crates.
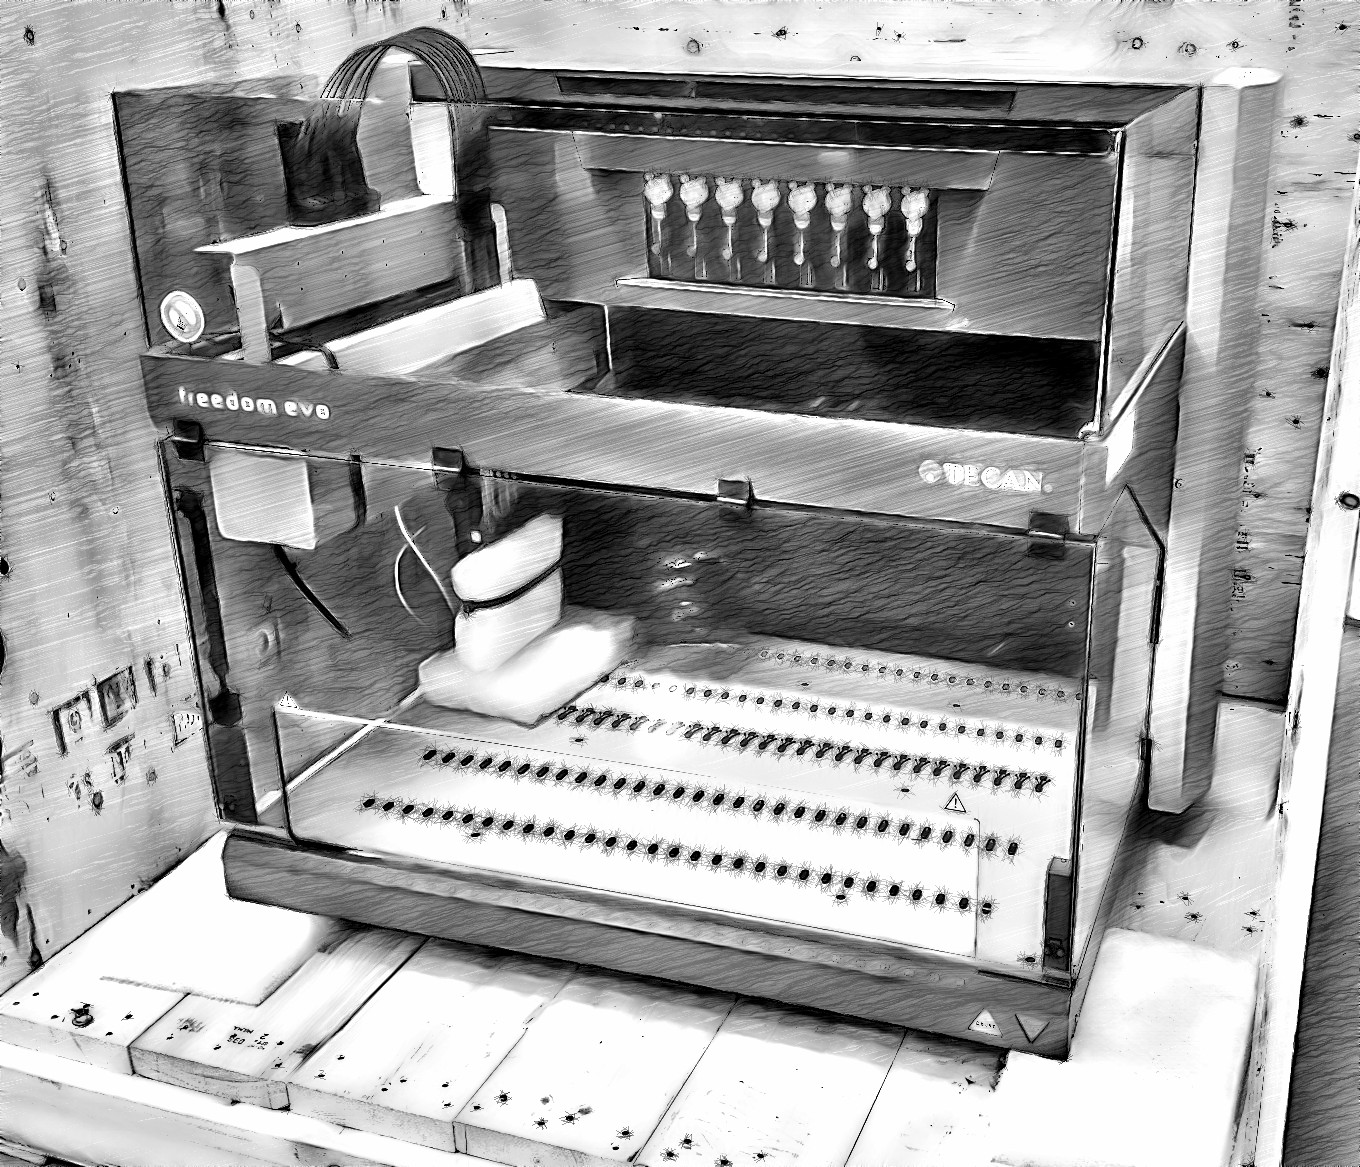
 

3. You always want the Instrument to not be directly on the wood deck of the crate. This is done by placing it on foam, inside of the crate. We use 2” 1.7 lb. density foam which works great. It provides cushioning and enough firmness to support the Instrument.
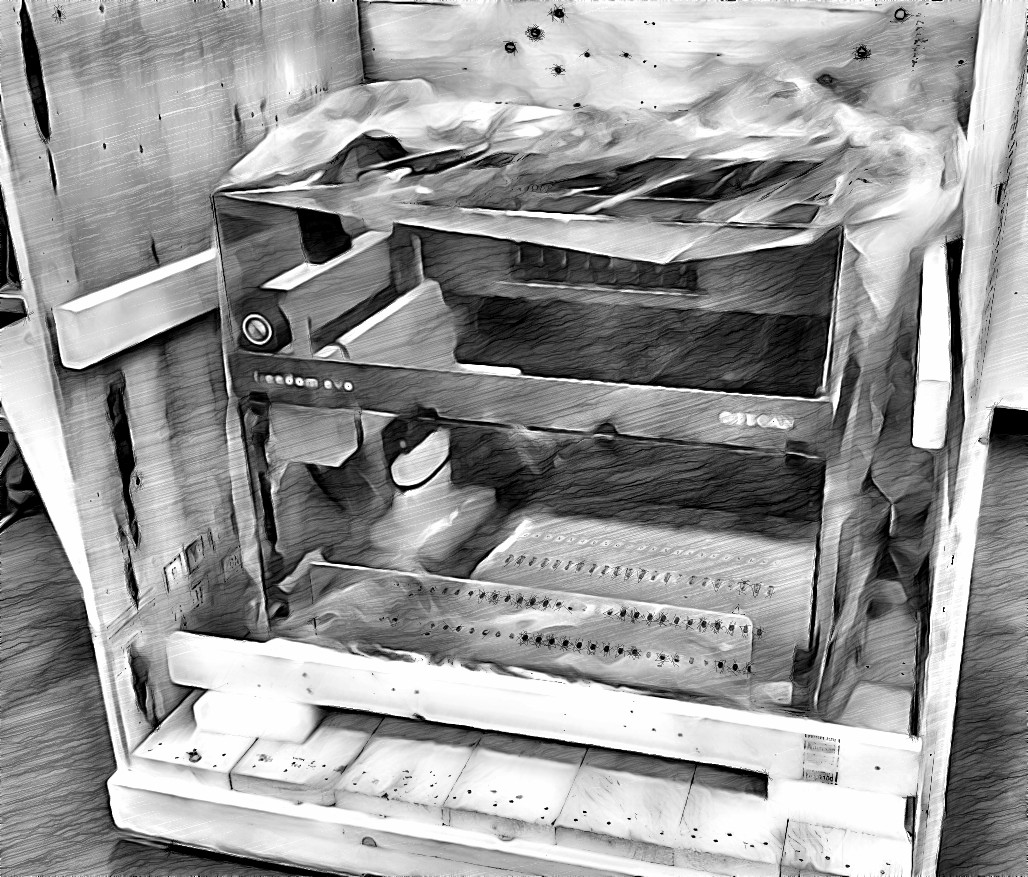
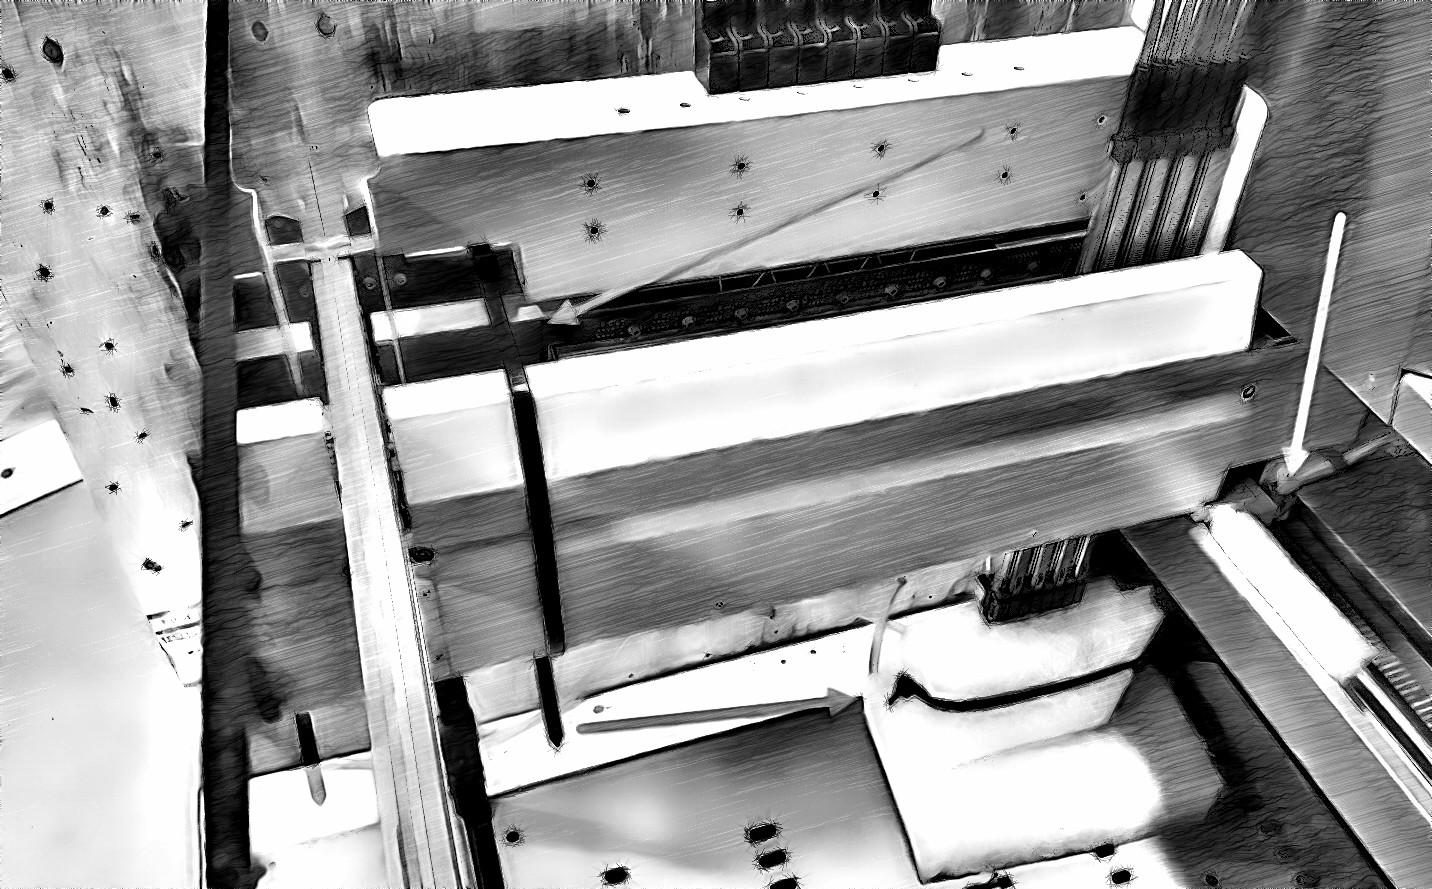
4.  The next step is to make sure there is nothing on the deck of the Instrument and the Head/ Arm is secured. In some cases there will be multiple arms to secure but for this example there is only one. The reason for this is so there is no free movement during transit which could cause serious damage to the Instrument.
5. The next step is to make sure your Instrument is covered in either a pallet bag or shrink wrap so no dust or foreign object will get into the crate.
6. The next step is to secure the instrument inside the crate by bracing. We use a method of 2x4’s which have 1” foam shrink wrapped to them so no piece of wood touches the actual instrument.

7. Final step is to photograph everything inside the crate and then seal it with screws.


We use cookies and other similar technologies to improve your browsing experience and the functionality of our site. Privacy Policy.