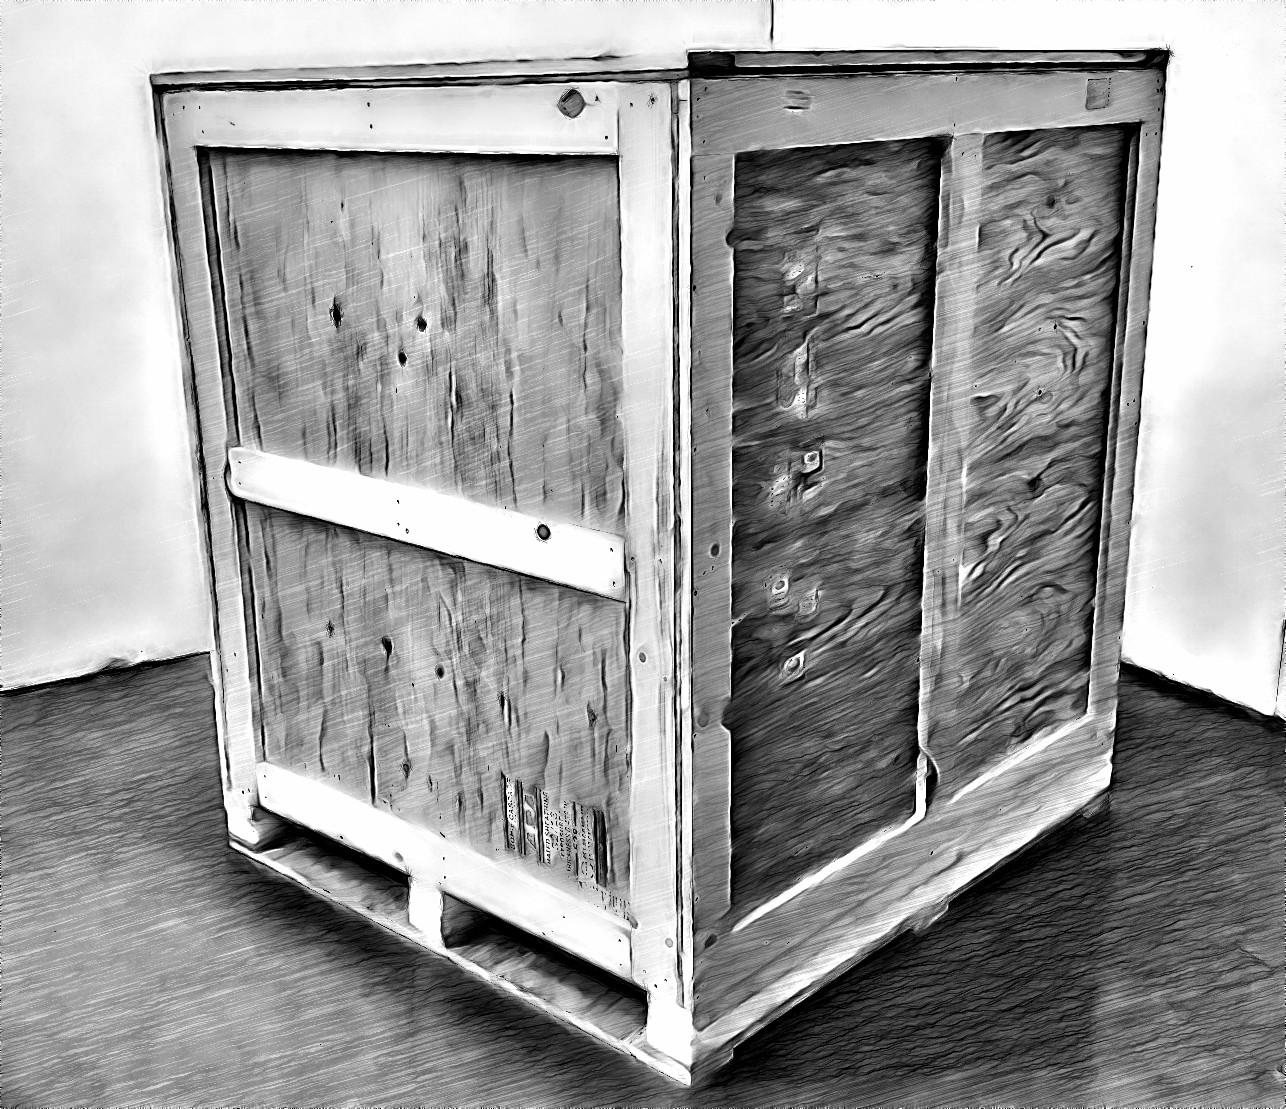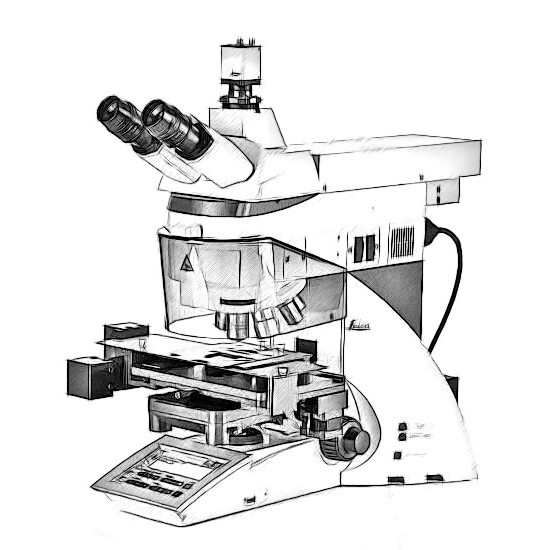
Here we are showing you our standard packing process
1. All items are different, but they all follow the same principle when packaging.
2. Start with a well-constructed crate
A well-constructed crate would consist of 1/2” to 5/8” Plywood with framing. We generally purchase our crates from a third party who specializes in custom crates.
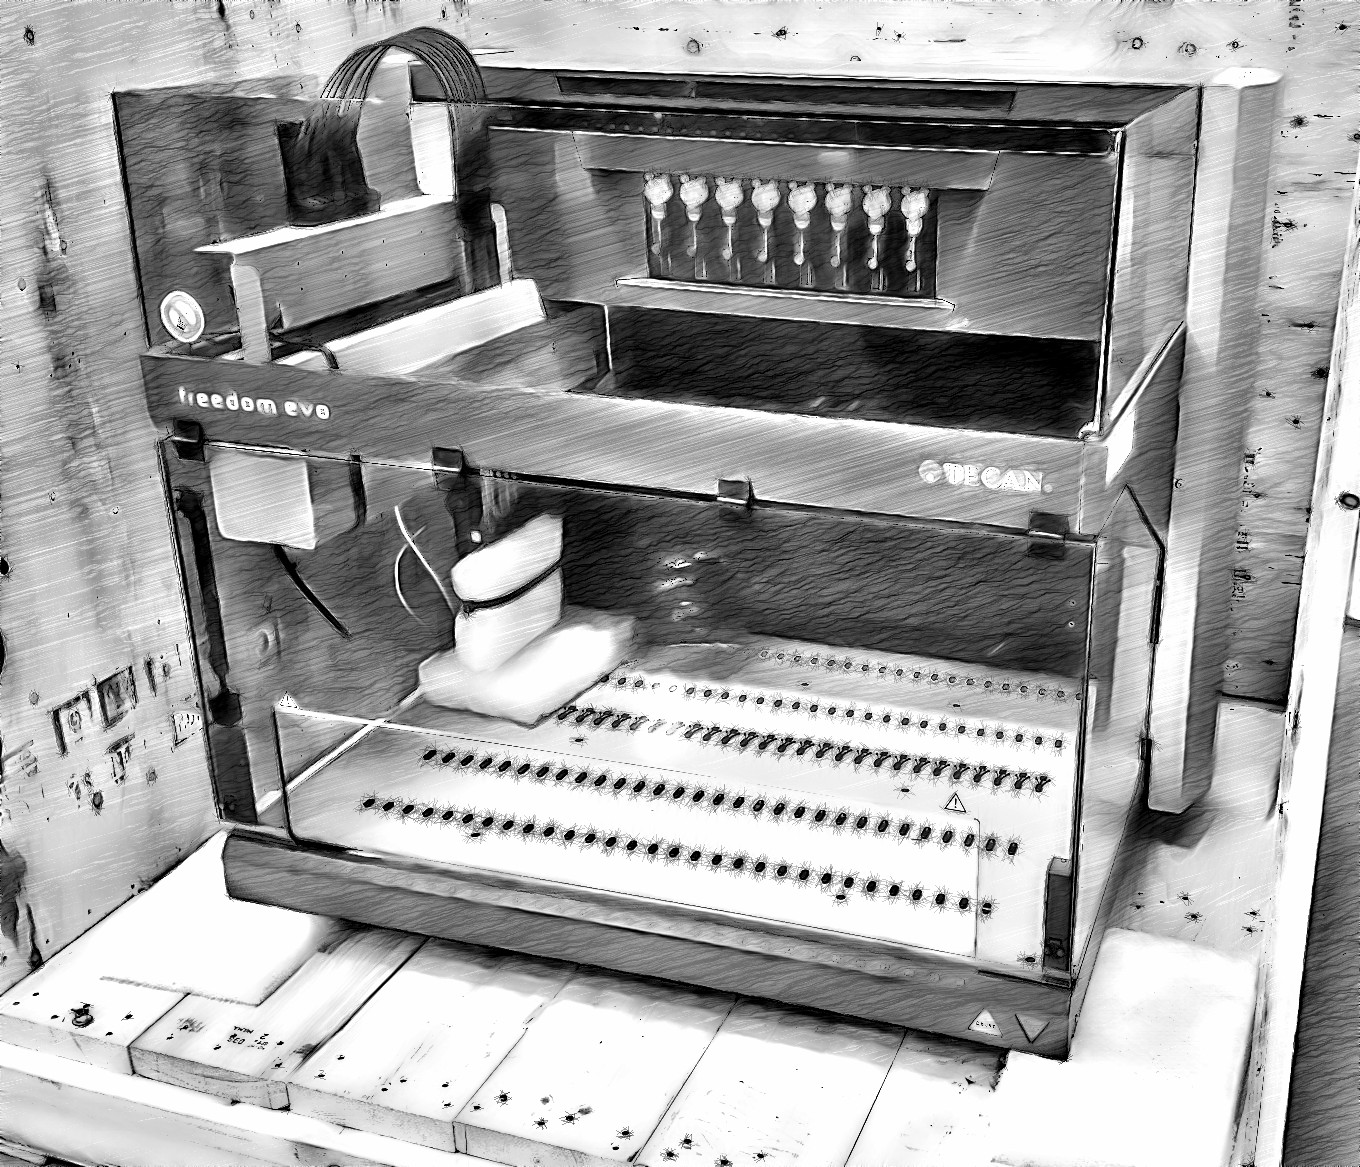
3. You always want the Instrument to not be directly on the wood deck of the crate. This is done by placing it on foam, inside of the crate. We use 2” 1.7 lb. density foam which works great. It provides cushioning and enough firmness to support the Instrument.
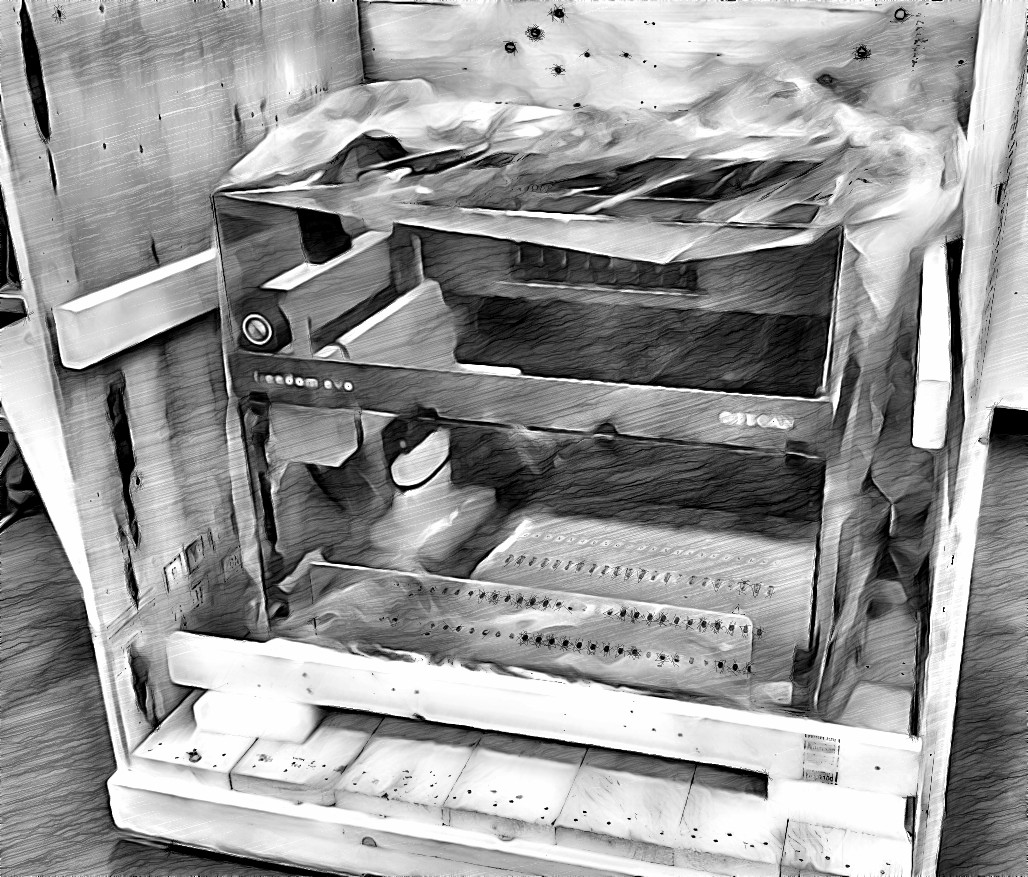
4. The next step is to make sure there is nothing on the deck of the Instrument and the Head/ Arm is secured. In some cases there will be multiple arms to secure but for this example there is only one. The reason for this is so there is no free movement during transit which could cause serious damage to the Instrument.
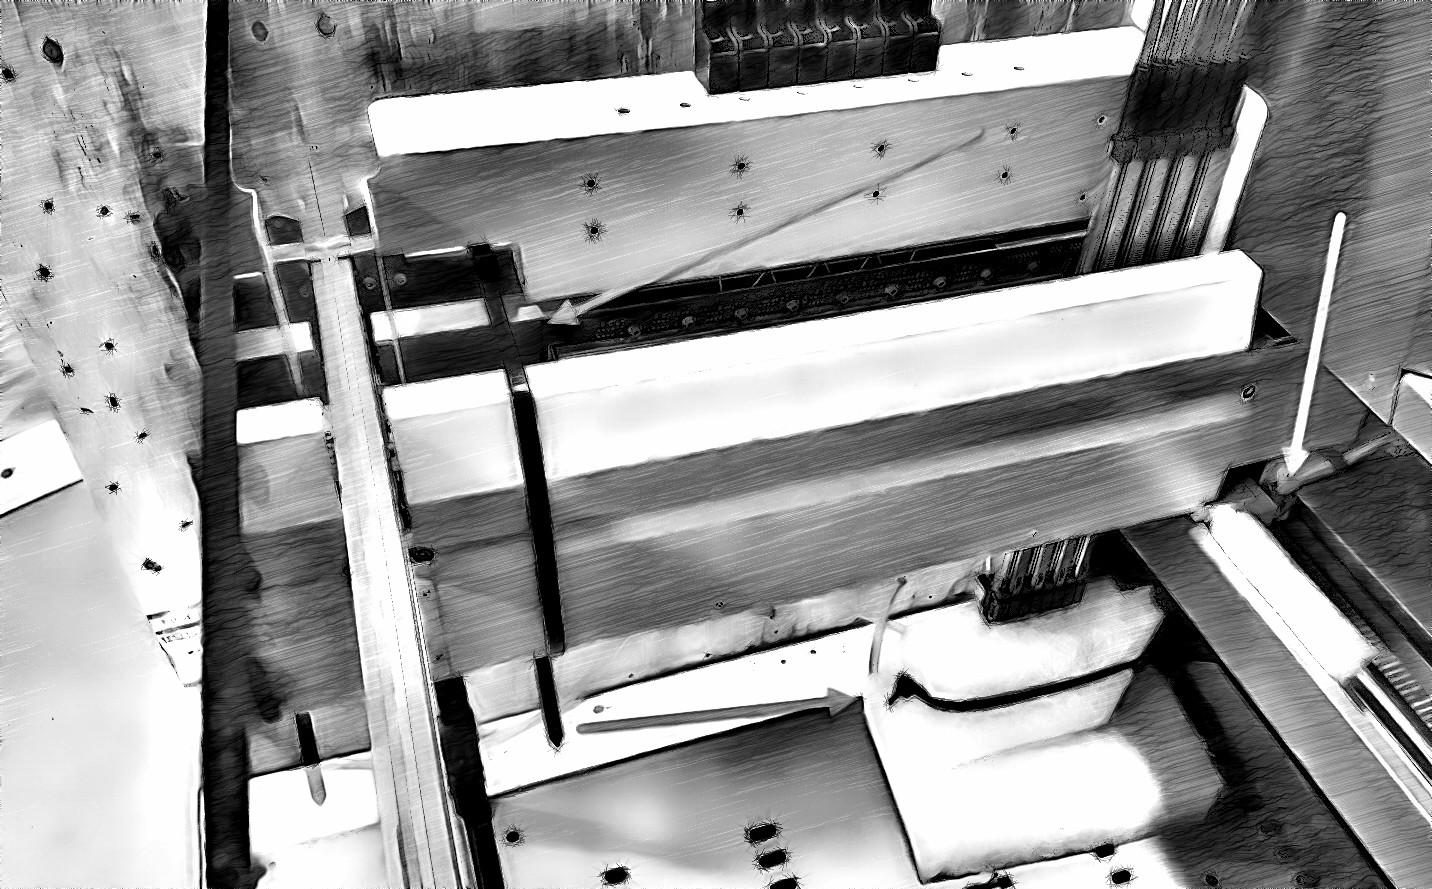
5. The next step is to make sure your Instrument is covered in either a pallet bag or shrink wrap so no dust or foreign object will get into the crate.
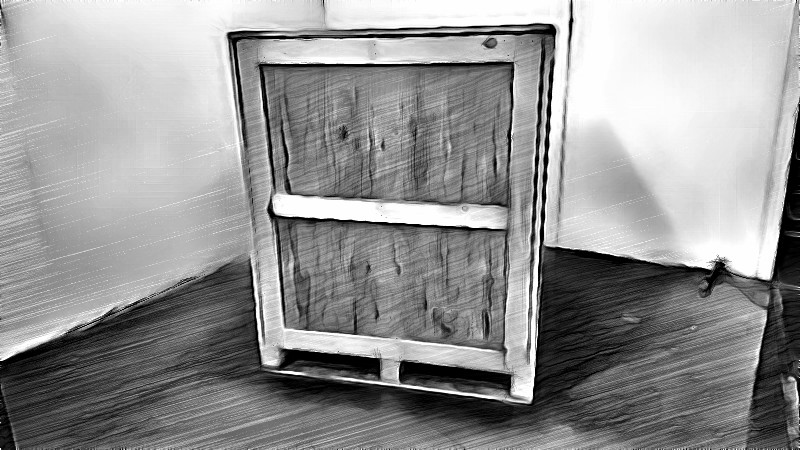
6. The next step is to secure the instrument inside the crate by bracing. We use a method of 2x4’s which have 1” foam shrink wrapped to them so no piece of wood touches the actual instrument.
7. Final step is to photograph everything inside the crate and then seal it with screws.